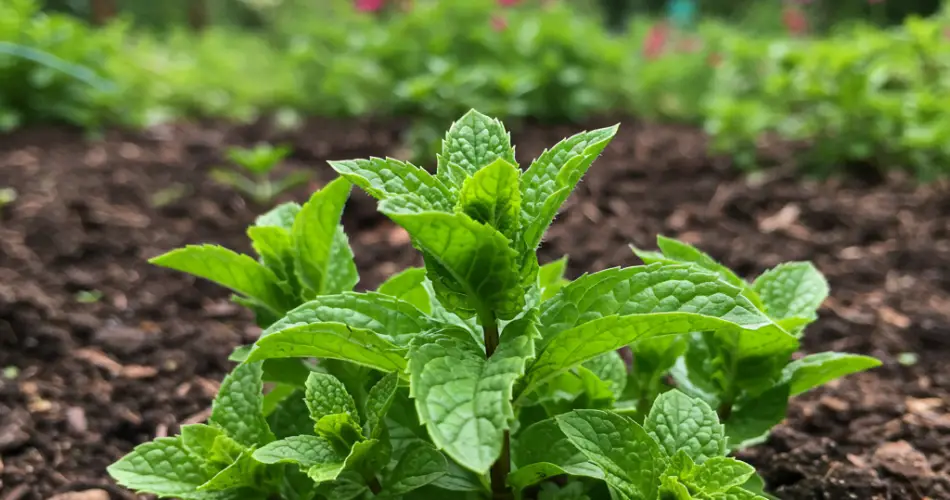
Mint is a wonderfully fragrant, versatile herb that adds freshness to drinks, dishes, and even home remedies. It’s a favorite for gardeners because it’s hardy, fast-growing, and can thrive in many conditions. Whether you’re a seasoned gardener or just starting out, growing mint in your garden is easy and rewarding. With these simple tips, you’ll have a thriving mint patch to harvest from all season long.
Why Grow Mint in Your Garden?
Mint is popular not only for its distinctive cool flavor but also for its medicinal properties, such as aiding digestion and relieving headaches. Having fresh mint growing in your garden means you can snip off sprigs whenever you want—perfect for teas, salads, cocktails, and cooking.
Mint is also a great companion plant that can help deter pests like aphids and flea beetles from your garden. Plus, it attracts beneficial pollinators such as bees and butterflies.
Step 1: Choose the Right Mint Variety
There are many types of mint, each with a slightly different flavor and growth habit. Some common varieties include:
-
-
Spearmint: The most common garden mint with a sweet, mild flavor.
-
-
-
Peppermint: Stronger flavor with a cooling menthol aroma.
-
Chocolate mint: A fun variety with a subtle chocolate undertone.
-
-
Apple mint: Mild flavor with fruity notes.
Decide what flavor you prefer and choose a variety accordingly. You can also grow multiple types if space allows.
Step 2: Select the Perfect Planting Spot
Mint thrives in a variety of garden conditions but prefers:
-
-
Partial shade to full sun: Mint grows well in sun but appreciates some afternoon shade, especially in hot climates.
-
Moist, well-drained soil: Mint likes consistently moist soil but cannot tolerate waterlogged roots.
-
-
Space to spread: Mint spreads vigorously underground, so giving it room or controlling its growth is important.
Because mint spreads aggressively, many gardeners prefer to plant it in containers or use barriers underground to prevent it from taking over garden beds.
Step 3: Prepare Your Soil
Mint prefers a slightly acidic to neutral soil pH (6.0 to 7.0). Before planting, enrich the soil with plenty of organic matter like compost or aged manure to boost fertility and moisture retention.
Good drainage is important, so if your garden soil is heavy clay, consider adding sand or organic matter to lighten it.
Step 4: Planting Your Mint
You can start mint from seeds, cuttings, or young plants:
-
-
Seeds: Mint seeds can be slow to germinate and tricky to grow from, so they are less commonly used.
-
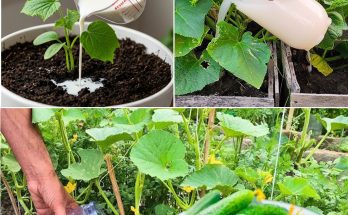
Cuttings: Take 4- to 6-inch cuttings from an established mint plant, remove the lower leaves, and place them in water until roots develop before planting.
-
Young plants: Purchase nursery-grown mint plants for an easy start.
-
Plant mint about 18 to 24 inches apart to give it space to spread.
Step 5: Watering and Mulching
Mint requires consistent moisture, especially in the growing season. Water regularly to keep the soil evenly moist but avoid waterlogging.
Apply a layer of mulch around the plants to conserve moisture, regulate soil temperature, and suppress weeds. Organic mulches such as straw or shredded leaves work well.
Step 6: Managing Mint’s Growth
Mint is known for its vigorous spreading habit, which can overwhelm other plants if left unchecked. To keep it manageable:
-
-
Use physical barriers like deep edging or containers buried in the soil.
-
-
Regularly trim back runners and harvest leaves.
-
Consider growing mint in pots or raised beds to control its roots.
Step 7: Fertilizing Your Mint
Mint isn’t particularly demanding but will grow more lush and flavorful with some feeding. Use a balanced, all-purpose fertilizer in early spring and again mid-season.
Alternatively, side-dress with compost or well-rotted manure for a natural nutrient boost.
Step 8: Harvesting Mint
You can start harvesting mint leaves as soon as the plants are well established, usually 2 to 3 months after planting.
For best flavor, harvest mint leaves before the plant flowers by pinching or cutting the stems just above a pair of leaves. Regular harvesting encourages bushier growth and delays flowering, which can make leaves bitter.
Fresh mint can be used immediately or dried for later use. To dry, hang small bunches upside down in a cool, dark, well-ventilated space.
Step 9: Dealing with Pests and Diseases
Mint is relatively pest-resistant but can occasionally attract aphids, spider mites, or whiteflies. To combat pests:
-
-
Spray plants with a strong jet of water to dislodge insects.
-
Use insecticidal soap or neem oil if infestations become serious.
-
-
Encourage beneficial insects like ladybugs to help control pests naturally.
Mint can also suffer from fungal diseases like powdery mildew. Ensuring good airflow around plants and avoiding overhead watering can reduce these issues.
Bonus Tips for Thriving Mint
-
-
Rotate your mint plants every few years to prevent soil-borne diseases.
-
If growing in containers, refresh the potting mix every couple of years.
-
Use mint leaves freshly picked for the best flavor and aroma.
-
-
Experiment with mint teas, salads, sauces, and even desserts to fully enjoy your harvest.
Final Thoughts
Growing mint in your garden is easy, even if you’re a beginner. With its fast growth and minimal maintenance, mint rewards gardeners with a bountiful supply of flavorful leaves for months. By choosing the right variety, providing good soil and water, and managing its spreading nature, you can enjoy fresh mint year after year.
Start your mint garden today and add a refreshing burst of green and flavor to your outdoor space!