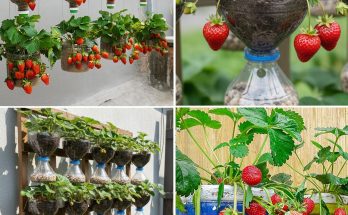
In this guide, you’ll learn how to grow garlic in water bottles to encourage fast root development, enjoy quick harvests, and even regrow garlic multiple times from the same setup.
Why Grow Garlic in Water Bottles?
Garlic is typically grown in soil and harvested after several months. But when grown in water, especially for greens or micro garlic shoots, the process becomes much faster and cleaner. This method:
-
Saves space.
-
Uses recycled materials.
-
Provides quick access to garlic greens.
-
Allows you to observe root growth.
-
Requires minimal maintenance.
Even though this method won’t grow large garlic bulbs, it’s perfect for producing garlic greens that have the same punchy flavor and nutrients.
Materials You’ll Need
-
Clean, empty plastic bottles (1.5 or 2-liter soda bottles work well)
-
Garlic cloves (sprouting or fresh)
-
Sharp scissors or a knife
-
Water
-
Toothpicks (optional)
-
Dark paper or cloth to cover bottles (optional, to block algae growth)
Step-by-Step Guide to Growing Garlic in Water Bottles
1. Choose Healthy Garlic Cloves
Select firm, fresh garlic cloves. Organic garlic is preferred since some conventional garlic is treated with chemicals to prevent sprouting. If possible, use garlic that has already started to sprout—it gives you a head start.
Break apart the bulb and choose the largest outer cloves, which tend to produce stronger plants. Avoid any soft, moldy, or damaged cloves.
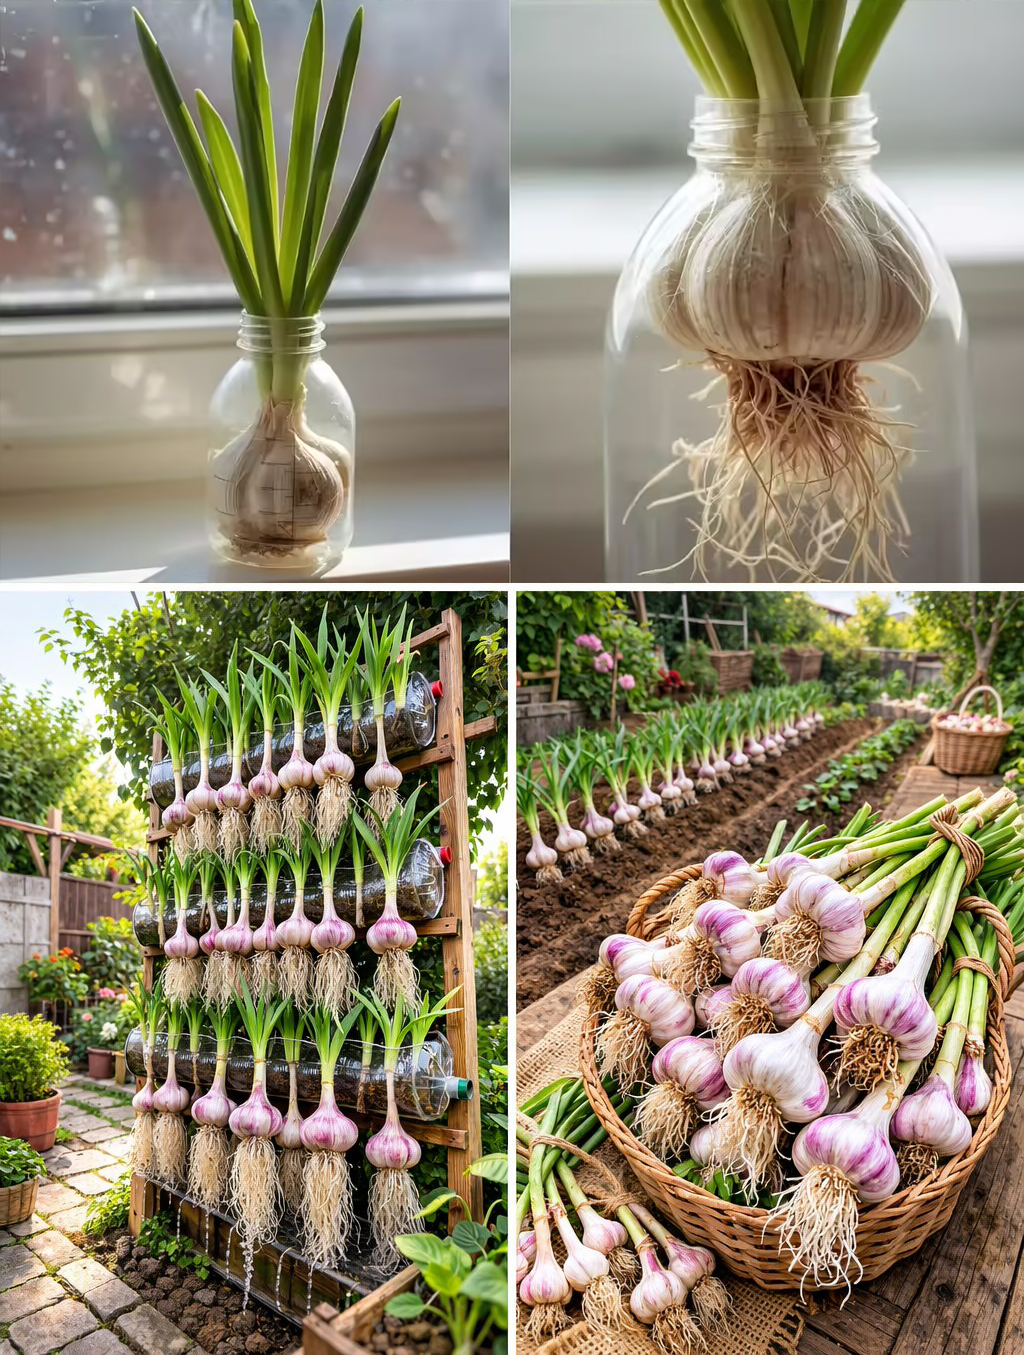
2. Prepare the Plastic Bottles
Cut the top third off the bottle, keeping the bottom portion. This will serve as the container to hold water and the garlic.
If you want to grow multiple cloves in one bottle, cut small holes around the sides of the bottle, about halfway up. These holes should be just big enough to hold a garlic clove snugly, with the bottom part inside the bottle and touching the water.
Optional: Wrap the bottle with dark paper or fabric to block light from entering the water and prevent algae growth.
3. Insert the Garlic Cloves
There are two ways to position the garlic:
Top Method: Rest the garlic cloves on the rim of the bottle top (placed upside-down inside the bottom half like a funnel), with just the base touching the water. This works well for a few cloves and helps reduce the risk of rotting.
Side Hole Method: Push garlic cloves into the holes you made, so only the base touches the water inside. This allows you to grow several cloves per bottle.
In both methods, make sure the base (root end) of the clove is in contact with the water, not submerged. Only a little contact is needed to encourage rooting.
4. Provide Light and Warmth
Place the bottles in a bright, indirect sunlight location. Garlic prefers warmth and will sprout quickly in temperatures between 68–75°F (20–24°C). Within 3 to 5 days, you should see roots developing and green shoots emerging from the tops.
If natural light is limited, you can use a grow light to ensure healthy shoot development.
5. Maintain Water Levels
Check the water daily. Keep the water level just high enough to touch the bottom of the cloves but not so high that the cloves sit submerged. Change the water every 3–4 days to prevent bacterial buildup and odor.
When to Harvest Garlic Greens
Garlic grown in water bottles will begin producing long green shoots within 7 to 14 days. These shoots, known as garlic greens or scapes, can be harvested once they reach 6 to 8 inches tall.
Use clean scissors to snip the greens about an inch above the clove. You can harvest them once or twice per clove. After a couple of cuttings, the cloves will begin to decompose and should be replaced with fresh ones.
Garlic greens are milder in flavor than garlic cloves but make an excellent addition to stir-fries, salads, soups, and marinades.
Tips for Best Results
-
Use fresh water: Always use clean, room-temperature water. Avoid chlorinated water if possible.
-
Keep bottles clean: Rinse the bottle and replace water frequently to prevent mold or slime.
-
Don’t fully submerge cloves: Only the root end should touch water to prevent rotting.
-
Use dark containers or covers: Blocking light from reaching the water discourages algae growth.
-
Regrow with fresh cloves: After 2–3 harvests, replace old cloves with new ones to continue your garlic production cycle.
Final Thoughts
Growing garlic in water bottles is a fun and practical way to enjoy fresh greens quickly without soil or complex equipment. It’s a great introduction to indoor gardening and a sustainable way to reuse plastic bottles. Whether you’re in an apartment, office, or just looking for an easy project, this method delivers fast, flavorful results.