If you love having fresh mint on hand but don’t have much space—or just want a fun DIY project—you have to try this ridiculously simple method using nothing but a plastic cup! The results? Way better than I ever expected.
Why Grow Mint in a Plastic Cup?
-
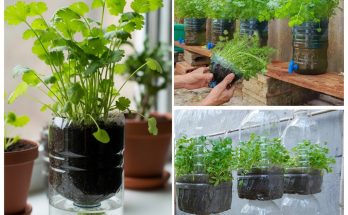
Eco-Friendly: Reuse that single-use plastic instead of tossing it.
-
Budget-Friendly: No need to buy pots or planters.
-
Drainage Control: Just poke a few holes and you’re good to go.
What You’ll Need:
-
A plastic cup (clear or opaque)
-
Mint cuttings (4–6 inches long, healthy stems)
-
Potting soil (well-draining)
-
Water (to keep the soil moist)
How to Do It (Step-by-Step):
1. Prep the Plastic Cup
-
Use a knife or drill to make small holes at the bottom. This prevents overwatering and root rot.
2. Get Your Mint Cuttings Ready
-
Pick fresh, healthy stems with at least a few sets of leaves.
-
Cut them to 4–6 inches long, just below a leaf node (that’s where roots will sprout!).
3. Plant the Mint
-
Fill the cup with potting soil, leaving about 1 inch at the top.
-
Make a hole and gently place the cutting in, covering the node with soil.
4. Water Smartly
-
Water lightly to moisten the soil—but don’t drown it.
-
Keep soil consistently damp, not soggy.
5. Give It the Right Light
-
Place in bright, indirect sunlight—a windowsill works great.
-
Water regularly to keep it thriving.
6. Watch the Magic Happen
-
Roots usually develop in 2–3 weeks.
-
Trim the top leaves occasionally to encourage fuller, bushier growth.
Why You’ll Love This Method
-
Perfect for Small Spaces: Windowsills, balconies, or desks.
-
Fresh Mint Anytime: Add to your tea, salads, or cocktails.
-
Zero Gardening Skills Needed: It’s nearly foolproof.
If you’ve been throwing away plastic cups… maybe it’s time to turn them into mini herb gardens instead. Try this method once, and you’ll never go back!