If you’ve ever tried to grow bell peppers and found yourself disappointed with the results, you’re not alone. Many beginners make common mistakes that can lead to poor yields or unhealthy plants. But don’t worry! In this article, we’ll walk you through the proper steps to plant bell peppers successfully and ensure a great harvest.
Choosing the Right Seeds
The first step to success is choosing good seeds. You can use seeds from your own peppers, but make sure they’re fully dried out before planting. To dry the seeds, simply place them in a sunny spot for about a day. Once dried, they should look like the seeds you’d find in a store. The drying process is important because it ensures the seeds are fully prepared for germination.
Germination: Testing the Seeds
Not all seeds are going to germinate, and some may be unhealthy. To test your seeds for quality, place them in a bowl of water. Leave them there for a few hours. The seeds that sink to the bottom are the best ones to plant. Any seeds that float should be discarded because they are either damaged or not viable for germination.
Preparing the Soil
The next crucial step is preparing the soil. Bell peppers thrive in rich, well-drained soil. The soil should be loose enough for the roots to spread easily, so make sure to mix in some compost or well-aged manure. This will add necessary nutrients to the soil and encourage healthy plant growth. Avoid using soil that’s too compacted, as this can inhibit root development.
When preparing the soil, make sure to dig the area thoroughly and add any necessary amendments like organic fertilizers. After that, level the soil and create small planting holes where you will place your seeds.
Planting the Seeds
Once your soil is ready, it’s time to plant the seeds. Place the seeds in the soil at a depth of about 1 inch (2.5 cm). Don’t plant them too deep, as this can inhibit germination. After planting the seeds, lightly cover them with soil and water gently.
Caring for Your Bell Pepper Plants
Now that your seeds are planted, it’s important to take care of them. Bell peppers need plenty of sunlight, so make sure they are in a location that receives at least 6 hours of direct sunlight per day. If you’re growing them indoors, ensure they have enough light from grow lights or place them near a sunny window.
Water the plants regularly, but avoid overwatering. The soil should remain moist but not soggy. Bell peppers don’t like to have their roots sitting in water, so make sure your soil drains well. If you’re unsure, you can test the soil by sticking your finger about an inch into the ground. If it feels dry, it’s time to water.
Fertilizing for Growth
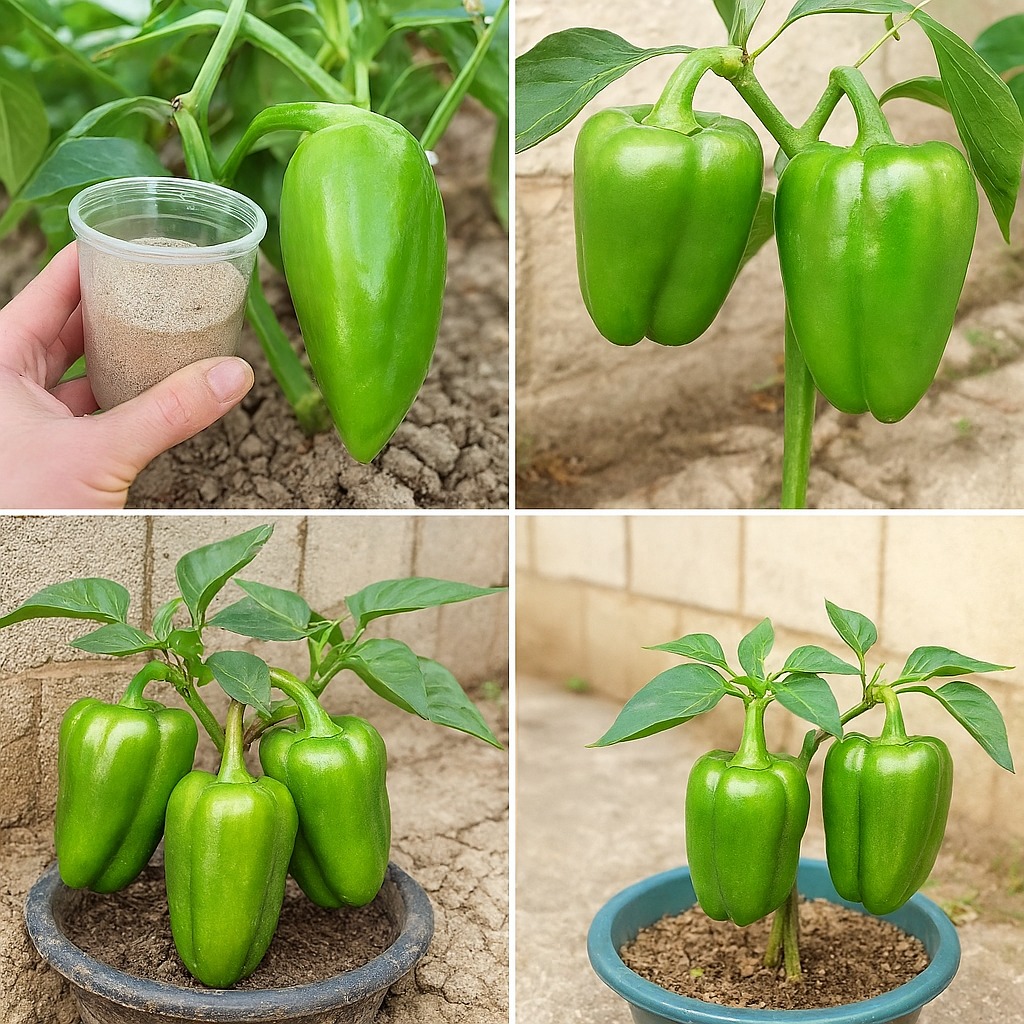
Bell peppers are heavy feeders, so regular fertilization is important. Use a balanced fertilizer, or one that’s high in phosphorus, to promote strong root and flower development. Be sure to follow the instructions on the fertilizer packaging to avoid overfeeding your plants, which can lead to excessive leaf growth and poor fruit production.
Transplanting Seedlings
After about 2 weeks, your seedlings will begin to emerge. If they are growing too close together, thin them out by carefully removing the weaker plants. Once they reach about 4-6 inches tall, you can transplant them into larger pots or directly into the ground if they’re in a container. When transplanting, make sure to handle the plants gently to avoid damaging the roots.
Ensuring Successful Fruit Development
Bell peppers are sensitive to temperature, and they require warm weather to grow successfully. The ideal temperature for bell pepper growth is between 70°F and 85°F (21°C to 29°C). If the temperature is too low, the plants may struggle to grow, and if it’s too hot, the plants may stop producing fruit.
Ensure your plants get consistent care by regularly checking for pests and diseases. Aphids, caterpillars, and other pests can damage your plants, so it’s a good idea to inspect them frequently. Organic pest control methods, such as neem oil or insecticidal soap, can help keep your plants healthy.
Harvesting the Bell Peppers
Your bell peppers should be ready to harvest about 2 to 3 months after planting, depending on the variety. The peppers will start out green and change color as they ripen. Some varieties turn red, while others may turn yellow or orange. You can harvest bell peppers when they’re still green if you prefer, or you can wait until they change color for a sweeter flavor.
To harvest, simply cut the peppers off the plant with a sharp knife or garden shears. Be careful not to damage the plant, as this could affect future fruit production.
Final Tips
-
-
Sunlight: Ensure your bell peppers get at least 6 hours of direct sunlight every day.
-
Watering: Water regularly but avoid overwatering. The soil should remain moist, not soggy.
-
Fertilization: Use a balanced fertilizer or one that’s high in phosphorus to promote healthy growth.
-
Temperature: Bell peppers need warm temperatures to thrive. Ensure they’re planted in a location with consistent warmth.
-
By following these steps and caring for your bell peppers, you’ll be able to grow healthy, vibrant plants that yield delicious, homegrown peppers. With the right techniques, you can enjoy an organic, pesticide-free harvest straight from your garden. Happy gardening!