How to Make Nutrient-Rich Liquid Fertilizer From Garden Waste
Making your own liquid fertilizer at home is one of the most effective and sustainable ways to nourish your plants while recycling garden waste. This easy-to-make solution provides essential nutrients that support healthy plant growth, improve soil structure, and promote a more vibrant, productive garden.
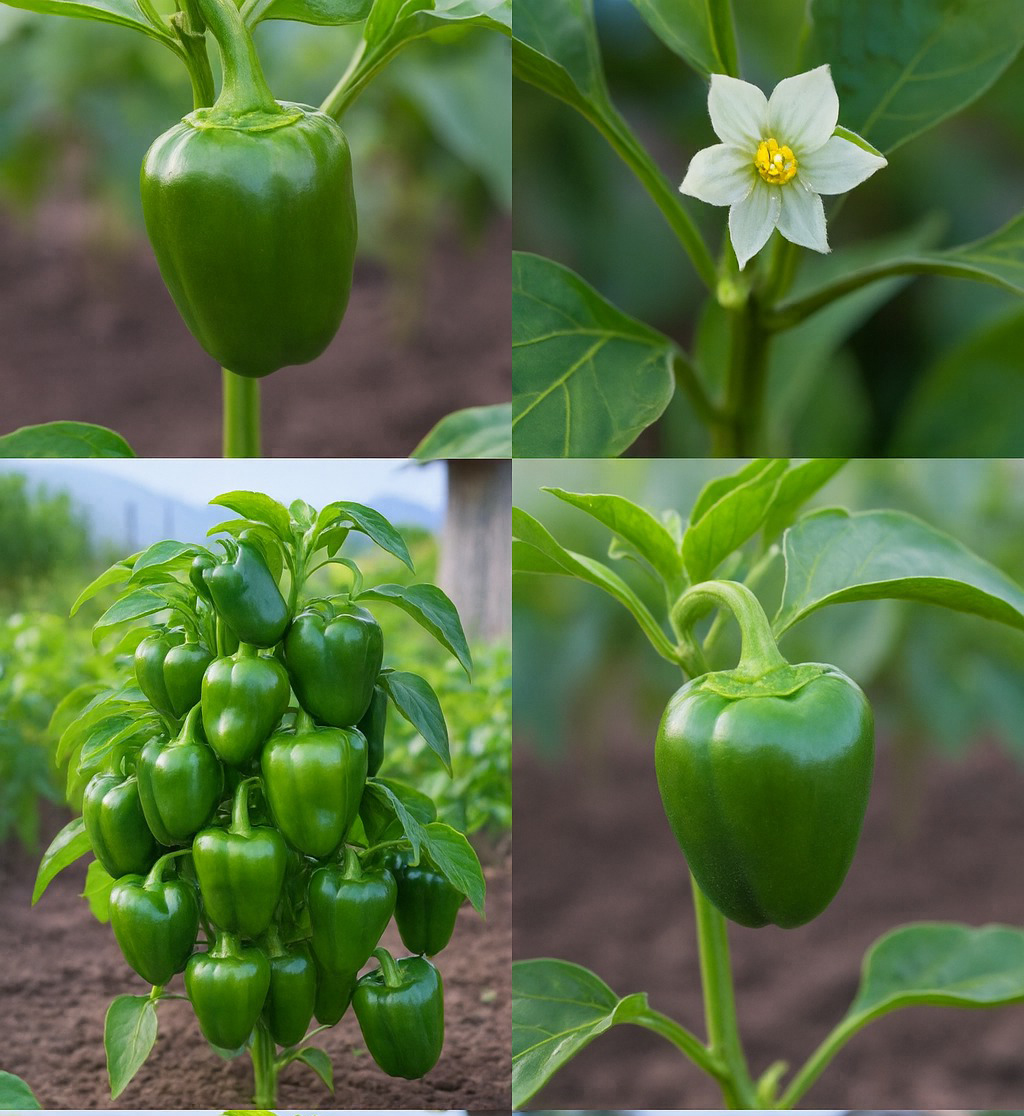
This guide outlines a simple method using a 5-gallon bucket and common garden materials like leaves, weeds, and dead plants. The result is a nutrient-dense liquid fertilizer packed with nitrogen, phosphorus, potassium, and beneficial trace minerals.
Why Liquid Fertilizer Works So Well
Liquid fertilizers are quickly absorbed by plants, making nutrients readily available in a shorter time compared to solid compost. Here’s what makes this natural formula so effective:
-
-
Nitrogen: Promotes leafy growth and lush, green foliage.
-
-
-
Phosphorus: Supports strong root development and boosts flowering and fruiting.
-
Potassium: Enhances overall plant health, helps in water regulation, and improves resistance to pests and diseases.
-
Trace Minerals: Elements like calcium, magnesium, and iron aid in various physiological functions within plants.
-
-
Organic Matter: Stimulates microbial activity in the soil, improving nutrient availability and soil structure.
What You’ll Need
-
-
A 5-gallon (20-liter) bucket
-
Green materials: fresh leaves, grass clippings, weeds, and healthy dead plants
-
-
-
Optional: a handful of brown materials like dried leaves or shredded paper (to balance carbon-to-nitrogen ratio)
-
Non-chlorinated water (rainwater is ideal)
-
A loose-fitting lid or breathable cloth
-
Step-by-Step Instructions
1. Collect and Prepare the Materials
Gather a variety of green plant materials—fresh weeds, grass clippings, non-diseased dead plants, and leafy trimmings from your garden. Chop them into small pieces to increase surface area and speed up decomposition.
2. Fill the Bucket
Add the chopped materials to the 5-gallon bucket until it’s about halfway full. Mix green and brown materials if you want to balance nitrogen and carbon levels, which can help with odor control and fermentation quality.
3. Add Water
Pour non-chlorinated water into the bucket until it’s nearly full. Leave a few inches of space at the top for easy stirring. The water will extract nutrients from the plant materials as fermentation progresses.
4. Cover and Ferment
Cover the bucket loosely with a lid or cloth to keep debris out while allowing airflow. This is essential for the aerobic breakdown of materials. Place the bucket in a shaded, warm spot in your garden or backyard.
5. Stir Regularly
Stir the mixture every 2–3 days to encourage aeration and speed up the fermentation process. This helps beneficial microbes multiply and efficiently break down the organic matter.
6. Fermentation Time
Allow the mixture to ferment for 2 to 3 weeks. During this period, the green materials will decompose and release their nutrients into the water. You’ll notice a dark, rich liquid forming, which indicates that the process is working well.
7. Strain and Dilute
After fermentation, strain out the solid materials using a fine mesh or cloth. What remains is a concentrated liquid fertilizer. Before using it on your plants, dilute it at a ratio of 1 part fertilizer to 10 parts water. This ensures the nutrient concentration is safe for plant roots.
How to Use the Fertilizer
-
-
Apply the diluted liquid fertilizer directly to the soil near the base of your plants.
-
-
-
Water the roots thoroughly to help the nutrients penetrate the soil.
-
Repeat the application every 2 to 4 weeks during the active growing season.
-
Store any leftover concentrate in a sealed container, away from sunlight, for later use.
-
Benefits of DIY Liquid Fertilizer
-
-
Eco-Friendly: Recycles garden and kitchen waste, reducing landfill use.
-
Cost-Effective: Eliminates the need for commercial fertilizers.
-
Fast Results: Nutrients are readily available, leading to quicker visible growth.
-
-
Versatile: Suitable for vegetables, flowers, shrubs, and fruit trees.
-
Soil-Boosting: Improves microbial activity and long-term soil health.
Final Tips
-
-
Avoid using diseased plant materials or invasive weed seeds to prevent spreading problems in your garden.
-
-
If the mixture smells particularly foul, it may need more oxygen—stirring more frequently or adding a handful of dry materials can help.
-
Always test the diluted fertilizer on a few plants first to make sure they respond well before applying widely.
Making liquid fertilizer from leaves, weeds, and dead plants is a simple and rewarding way to turn garden waste into a powerful tool for plant nutrition. It’s natural, cost-effective, and delivers results that both you and your garden will appreciate.