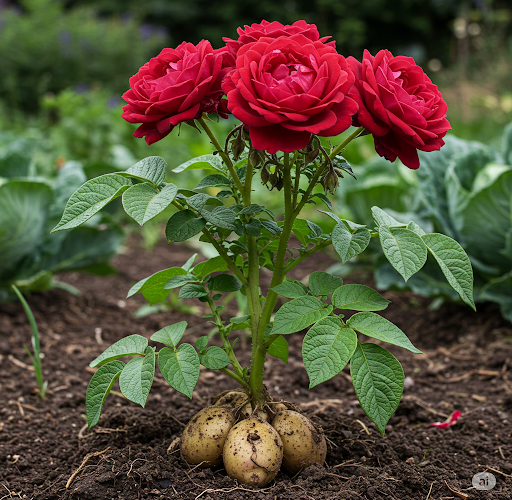
Rose propagation doesn’t have to be a complicated process filled with specialized equipment or chemical additives. In fact, you can root roses quickly and easily with something as simple as a potato. This natural, inexpensive method is not only effective but also incredibly beginner-friendly. Whether you’re looking to expand your rose garden or share a favorite variety with a friend, potatoes can help make rooting rose cuttings straightforward and successful.
Why Potatoes Work for Rose Propagation
It might sound unusual at first, but potatoes offer several benefits that make them ideal for rooting rose cuttings:
-
-
Consistent Moisture: Potatoes naturally hold water, creating a stable and moist environment around the base of the cutting. This helps prevent the cutting from drying out during the crucial early stages of rooting.
-
Nutrient Boost: As the potato begins to break down in the soil, it releases small amounts of natural nutrients that support root development.
-
-
Physical Support: A potato offers a firm yet penetrable surface that securely holds the cutting in place, reducing movement that could disturb root formation.
-
Barrier Against Soil Pathogens: The potato acts as a buffer between the cutting and the surrounding soil, potentially protecting it from harmful bacteria and fungi.
This method is especially useful in outdoor gardens or for anyone without access to commercial rooting products.
Materials Needed
To begin propagating roses using potatoes, gather the following materials:
-
Fresh, disease-free rose cuttings (6–8 inches long)
-
Medium-sized firm potatoes
-
A sharp knife or skewer
-
Rooting hormone (optional)
-
Potting soil or garden bed space
-
A transparent plastic bottle or jar (to create humidity)
-
Clean water
-
A small garden trowel or spade
Step-by-Step Rose Propagation with Potatoes
1. Select and Prepare the Rose Cuttings
Choose a healthy rose stem that is neither too woody nor too green. Cut a 6- to 8-inch segment from just below a leaf node. Remove any flowers or buds, and strip away the bottom leaves. Leave a few leaves at the top to support minimal photosynthesis.
2. Prepare the Potato
Select a potato that is firm and without signs of decay. Using a skewer, screwdriver, or knife, carefully create a hole in the potato that is deep enough to hold the cutting. The fit should be snug so the stem stays upright.
3. Optional Step: Apply Rooting Hormone
Although not required, dipping the base of the rose cutting in a rooting hormone can speed up the rooting process and improve success rates. This step is helpful especially for thicker or harder-to-root stems.
4. Insert the Cutting into the Potato
Gently place the rose cutting into the hole in the potato. At least one node should be embedded in the potato, as this is where roots are most likely to form.
5. Plant the Potato and Cutting
Dig a hole about 3–4 inches deep in a garden bed or large pot. Place the potato into the hole with the rose cutting standing upright, and backfill with soil. Leave the upper part of the rose cutting above the soil line.
6. Create a Mini Greenhouse
To maintain humidity and protect the cutting from wind and sun, place a transparent plastic bottle or jar over the cutting. This will help retain warmth and moisture, mimicking greenhouse conditions.
7. Water Gently
Lightly water the soil after planting to help settle it around the potato and encourage moisture retention. Keep the soil slightly moist but not soggy, as excess water could cause the potato to rot.
Caring for the Cutting
Over the following weeks, it’s important to monitor the cutting’s progress. Ensure it’s placed in a bright spot with indirect sunlight. Avoid full sun, which could dry out the cutting or overheat the mini greenhouse. Check the moisture level regularly and add a light mist of water if the air inside the covering becomes dry.
After about 3 to 4 weeks, remove the plastic cover and gently tug the cutting to check for resistance—a good sign that roots are developing. Once the roots are established, the cutting can remain in place to grow or be carefully transplanted.
Transplanting Tips
When transplanting, choose a pot or garden bed with well-draining soil and a sunny position. Water the new plant thoroughly and avoid disturbing the root system. The potato will naturally break down over time, enriching the soil and continuing to nourish the developing rose.
As the plant matures, begin a regular watering and feeding schedule. A balanced rose fertilizer every few weeks will encourage healthy growth and flowering.
Conclusion
Using potatoes to root rose cuttings is a clever and effective way to multiply your favorite rose bushes without fuss or expense. This method takes advantage of the potato’s natural moisture and nutrients while simplifying the process of rooting cuttings. It’s ideal for home gardeners, beginners, or anyone looking to propagate roses in a natural, sustainable way.
Try it once, and you may find this easy, reliable technique becomes a favorite part of your gardening toolkit.