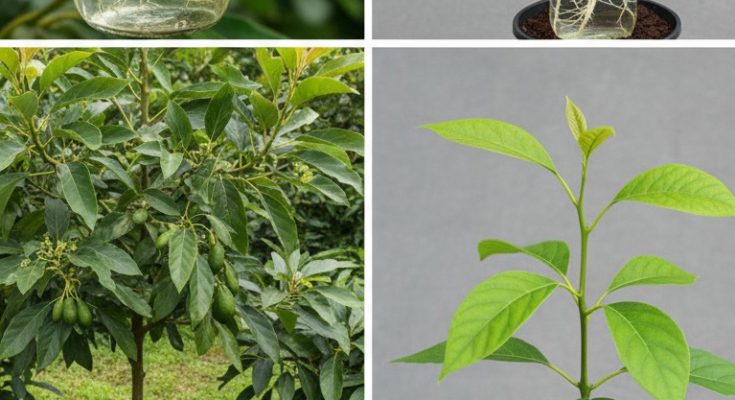
Avocado trees are cherished not only for their creamy, nutritious fruit but also for their adaptability and value in home gardens. If you’ve ever dreamed of having multiple avocado trees thriving in your backyard, there’s good news — propagation can be faster and more effective than you might think. With a combination of natural techniques and a few simple ingredients, you can successfully multiply avocado trees right at home.
This guide will walk you through a step-by-step method that includes using garlic as a natural disinfectant, cassava fermentation as a rooting hormone, and black sand for optimal soil conditions. Follow this approach, and in just over a month, you could have strong avocado shoots with healthy root systems ready for transplanting.
Step 1: Choose Healthy Cuttings
To begin, select healthy, semi-hardwood branches from a mature avocado tree. These should ideally be around 20–25 cm long and contain several nodes (the points where leaves grow). Use a clean, sharp knife or pruning shears to make a diagonal cut — this increases the surface area for root development.
Step 2: Garlic as a Natural Disinfectant
Before planting, it’s essential to protect your cuttings from bacterial and fungal infections. One of the best natural disinfectants is garlic. Simply crush a few cloves and soak them in clean water for about 30 minutes. Strain the solution, and dip the base of each avocado cutting in the garlic water for a few seconds.
Garlic contains allicin, a natural antimicrobial compound that helps eliminate harmful pathogens and promotes healthy growth. This step ensures your cuttings are protected as they begin to develop roots.
Step 3: Use Cassava Fermentation as a Rooting Hormone
Next, enhance root development by using a rooting hormone made from fermented cassava. Cassava is rich in natural auxins, plant hormones that stimulate root growth.
To prepare the cassava rooting solution:
-
-
Peel and chop fresh cassava roots.
-
Place the pieces in a container with clean water.
-
-
Let it ferment for 3–5 days at room temperature.
Once fermented, strain the mixture and use the liquid to soak the bottom ends of your avocado cuttings for several hours or overnight. This natural hormone promotes faster and stronger root formation, increasing the success rate of propagation.
Step 4: Prepare the Soil with Black Sand
Soil quality plays a crucial role in successful propagation. A mixture that provides good drainage and aeration is ideal. Black sand, especially volcanic sand, is excellent for this purpose. It improves drainage while retaining some moisture and adds beneficial minerals to the growing medium.
Mix the black sand with a small amount of compost or cocopeat to provide nutrients and improve structure. Fill pots or seed trays with this mixture before planting your treated avocado cuttings.
Step 5: Planting and Watering
Gently insert the cuttings into the prepared soil, burying them about 5–7 cm deep. Press the soil firmly around the base to keep them upright.
Water immediately after planting to settle the soil and eliminate air pockets. For the first few weeks, water the cuttings at least twice a day — once in the morning and once in the evening — to maintain consistent moisture. However, avoid waterlogging, as excessive moisture can cause rot.
Place the pots in a shaded, warm area where the cuttings are protected from direct sun but still receive ambient light.
Step 6: Monitor Growth and Check for Roots
Over the next few weeks, you’ll start to see signs of new growth — small shoots and leaves appearing from the nodes. This is a good indication that rooting is taking place beneath the surface.
After about 44 days, you can gently check the root system. Hold the base of a cutting and slowly lift it to see whether white, fibrous roots have formed. If the roots are well-developed and strong, your cuttings are ready for transplanting to larger pots or directly into the ground.
Final Tips
-
-
Keep humidity high around the cuttings, especially in dry climates, by misting or covering with a clear plastic dome.
-
-
Avoid fertilizing during the rooting phase. Wait until after transplanting to begin a light feeding schedule.
-
Be patient and gentle throughout the process; rooting takes time, and young cuttings are fragile.
With this natural, cost-effective method, you can propagate multiple avocado trees in your backyard using simple household ingredients. Not only is this approach environmentally friendly, but it also enhances your connection to the plants you grow.
Give it a try — and soon, you could have a thriving avocado orchard of your own!
